Getting Started
One of the best ways of getting started with a new platform is to try it out. Any big data platform has a lot of moving parts and getting some hands on keyboard time with it helps reinforce learning.
About this guide
Firstly, let’s cover whether this Getting Started guide is right for you. This is intended as a learning tool to discover more about Stackable, its deployment and architecture.
-
If you want to build a production cluster then this is not for you. This tutorial is to familiarize you with the Stackable architecture and is not a guide for building robust clusters.
-
This is intended for use in a private network or lab; it doesn’t enable many security features such as authentication or encryption and should not be directly connected to the Internet. Be careful if you’re deploying in the cloud as your instances may default to using public IPs.
Overview
Stackable is based on Kubernetes and uses this as the control plane to manage clusters. In this guide we will build a simple cluster with 3 services; Apache ZooKeeper, Apache Kafka and Apache NiFi.
Installing Kubernetes and kubectl
Stackable’s control plane is built around Kubernetes.
Follow the instructions on how to set up a local Kubernetes instance if you do not have access to a cluster and install kubectl.
If you already have kubectl installed, and have access to a Kubernetes cluster, you can skip this step.
Installing Stackable
Install stackablectl
Install the Stackable command line utility stackablectl by following the installation steps for your platform on the installation page.
Installing Stackable Operators
The Stackable operators are components that translate the service definitions deployed via Kubernetes into deploy services on the worker nodes. These can be installed on any node that has access to the Kubernetes control plane. In this example we will install them on the controller node.
Stackable operators can be installed using stackablectl. Run the following commands to install ZooKeeper, Kafka and NiFi from the Stackable 24.3 release.
stackablectl release install -i commons -i secret -i listener -i zookeeper -i kafka -i nifi 24.3Using Helm instead
| These examples assume Helm version 3. They will not work with Helm version 2. |
Add the stackable-stable Helm Chart repository:
helm repo add stackable-stable https://repo.stackable.tech/repository/helm-stable/Install the operators:
helm install zookeeper-operator stackable-stable/zookeeper-operator --version=24.3.0
helm install kafka-operator stackable-stable/kafka-operator --version=24.3.0
helm install secret-operator stackable-stable/secret-operator --version=24.3.0
helm install listener-operator stackable-stable/listener-operator --version=24.3.0
helm install commons-operator stackable-stable/commons-operator --version=24.3.0
helm install nifi-operator stackable-stable/nifi-operator --version=24.3.0
You can check which operators are installed using stackablectl operator installed:
OPERATOR              VERSION         NAMESPACE                      STATUS           LAST UPDATED
commons               24.3.0         default                        deployed         2024-03-30 17:58:32.916032854 +0100 CET
kafka                 24.3.0         default                        deployed         2024-03-30 17:58:55.036115353 +0100 CET
listener              24.3.0         default                        deployed         2024-03-30 17:59:18.136775259 +0100 CET
nifi                  24.3.0         default                        deployed         2024-03-30 17:59:51.927081648 +0100 CET
secret                24.3.0         default                        deployed         2024-03-30 18:00:05.060241771 +0100 CET
zookeeper             24.3.0         default                        deployed         2024-03-30 18:00:08.425686918 +0100 CET
Deploying Stackable Services
At this point you’ve successfully deployed Kubernetes and the Stackable operators we need and are ready to deploy services to the cluster. To do this we provide service descriptions to Kubernetes for each of the services we wish to deploy.
Apache ZooKeeper
We will deploy an Apache ZooKeeper instance to our cluster.
kubectl apply -f - <<EOF
---
apiVersion: zookeeper.stackable.tech/v1alpha1
kind: ZookeeperCluster
metadata:
  name: simple-zk
spec:
  image:
    productVersion: 3.8.3
  clusterConfig:
    tls:
      serverSecretClass: null
  servers:
    roleGroups:
      primary:
        replicas: 1
        config:
          myidOffset: 10
---
apiVersion: zookeeper.stackable.tech/v1alpha1
kind: ZookeeperZnode
metadata:
  name: simple-zk-znode
spec:
  clusterRef:
    name: simple-zk
EOF
Apache Kafka
We will deploy an Apache Kafka broker that depends on the ZooKeeper service we just deployed. The zookeeperReference property below points to the namespace and name we gave to the ZooKeeper service deployed previously.
kubectl apply -f - <<EOF
---
apiVersion: kafka.stackable.tech/v1alpha1
kind: KafkaCluster
metadata:
  name: simple-kafka
spec:
  image:
    productVersion: 3.5.1
  clusterConfig:
    zookeeperConfigMapName: simple-kafka-znode
    tls:
      serverSecretClass: null
  brokers:
    roleGroups:
      brokers:
        replicas: 1
---
apiVersion: zookeeper.stackable.tech/v1alpha1
kind: ZookeeperZnode
metadata:
  name: simple-kafka-znode
spec:
  clusterRef:
    name: simple-zk
    namespace: default
EOF
Apache NiFi
We will next deploy an Apache NiFi server.
kubectl apply -f - <<EOF
---
apiVersion: zookeeper.stackable.tech/v1alpha1
kind: ZookeeperZnode
metadata:
  name: simple-nifi-znode
spec:
  clusterRef:
    name: simple-zk
---
apiVersion: nifi.stackable.tech/v1alpha1
kind: NifiCluster
metadata:
  name: simple-nifi
spec:
  image:
    productVersion: 1.23.2
  clusterConfig:
    listenerClass: external-unstable
    zookeeperConfigMapName: simple-nifi-znode
    authentication:
      - authenticationClass: nifi-users
    sensitiveProperties:
      keySecret: nifi-sensitive-property-key
  nodes:
    roleGroups:
      default:
        replicas: 1
---
apiVersion: authentication.stackable.tech/v1alpha1
kind: AuthenticationClass
metadata:
  name: nifi-users
spec:
  provider:
    static:
      userCredentialsSecret:
        name: nifi-admin-credentials
---
apiVersion: v1
kind: Secret
metadata:
  name: nifi-admin-credentials
stringData:
  admin: AdminPassword
---
apiVersion: v1
kind: Secret
metadata:
  name: nifi-sensitive-property-key
stringData:
  nifiSensitivePropsKey: mYsUp3rS3cr3tk3y
EOF
You can check the status of the services using kubectl get pods. This will retrieve the status of all pods running in the default namespace.
NAME                                                       READY   STATUS    RESTARTS   AGE
commons-operator-deployment-5b589f4494-slqx7               1/1     Running   0          14m
kafka-operator-deployment-5db5d8c846-564pd                 1/1     Running   0          14m
listener-operator-controller-deployment-65f8bbdff4-fz9fh   2/2     Running   0          14m
listener-operator-node-daemonset-ffjdx                     2/2     Running   0          14m
listener-operator-node-daemonset-rfd6k                     2/2     Running   0          14m
listener-operator-node-daemonset-wtw8j                     2/2     Running   0          14m
nifi-operator-deployment-546fdb6bf8-6zptt                  1/1     Running   0          13m
secret-operator-daemonset-4cqfl                            3/3     Running   0          13m
secret-operator-daemonset-p9579                            3/3     Running   0          13m
secret-operator-daemonset-wktz8                            3/3     Running   0          13m
simple-kafka-broker-brokers-0                              2/2     Running   0          12m
simple-nifi-node-default-0                                 1/1     Running   0          11m
simple-zk-server-primary-0                                 1/1     Running   0          13m
zookeeper-operator-deployment-7bcdcbb558-xc77h             1/1     Running   0          13m
Since this is the first time that each of these services has been deployed to these nodes, it will take some time to download the software from the Stackable repository and deploy the services. Once all the pods are in the running state your cluster is ready to use.
Testing your cluster
If all has gone well then you will have successfully deployed a Stackable cluster and used it to start three services that should now be ready for you.
Apache ZooKeeper
We can test ZooKeeper by running the ZooKeeper CLI shell. The easiest way to do this is to run the CLI shell on the pod that is running ZooKeeper.
kubectl exec -i -t simple-zk-server-primary-0 -- bin/zkCli.shThe shell should connect automatically to the ZooKeeper server running on the pod. You can run the ls / command to see the list of znodes in the root path, which should include those created by Apache Kafka and Apache NiFi.
[zk: localhost:2181(CONNECTED) 0] ls /
[znode-17951052-3ffd-4e7a-9cfe-6865f827752d, znode-2d752976-f37c-4baf-a3af-2eed96ba57f5, znode-f946b36f-a0bc-4d11-93d6-8ac6a321c836, zookeeper]
Apache Kafka
To test Kafka we’ll create a topic, and verify that it was created. First create the topic with the following command:
kubectl exec -i -t simple-kafka-broker-brokers-0 -c kafka -- \
  bin/kafka-topics.sh --bootstrap-server localhost:9092 --create --topic demo
You should see the message, "Created topic demo." on the console. Now let’s check to see if it was actually created:
kubectl exec -i -t simple-kafka-broker-brokers-0 -c kafka -- \
  bin/kafka-topics.sh --bootstrap-server localhost:9092 --list
Apache NiFi
Apache NiFi provides a web interface and the easiest way to test it is to view this in a web browser.
To access the web interface we first need to get the ip address and port Nifi is listening on.
To get the IP address we need to connect to (in this case 172.18.0.2), run:
kubectl get nodes -o wideNAME STATUS ROLES AGE VERSION INTERNAL-IP EXTERNAL-IP OS-IMAGE KERNEL-VERSION CONTAINER-RUNTIME quickstart-control-plane Ready control-plane 9m59s v1.25.3 172.18.0.2 <none> Ubuntu 22.04.1 LTS 5.14.0-1052-oem containerd://1.6.9
With the following command we get the port (in this case 31931):
kubectl get svc simple-nifiNAME TYPE CLUSTER-IP EXTERNAL-IP PORT(S) AGE simple-nifi NodePort 10.96.82.80 <none> 8443:31931/TCP 7m51s
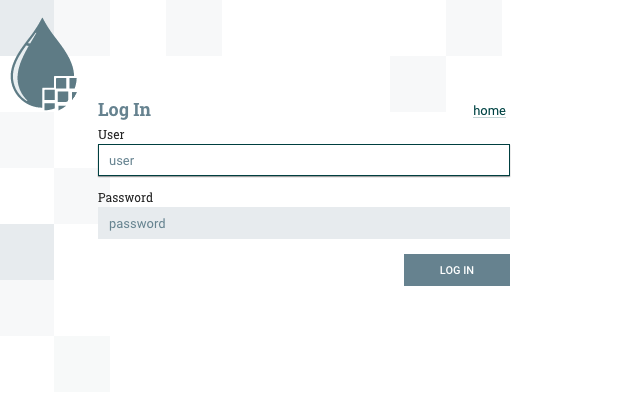
Browse to the address of your Kubernetes node on port 31931 e.g. https://172.18.0.2:31931/nifi and you should see the NiFi login screen.

If a password has not been specified for the admin user the Apache NiFi operator will automatically generate the admin user credentials with a random password and store it as a Kubernetes secret in order to provide some security out of the box. In the example above we have provided our own secret, but you can retrieve and confirm this password for the admin user with the following kubectl command.
kubectl get secrets nifi-admin-credentials \
-o jsonpath="{.data.admin}" | base64 -d && echo
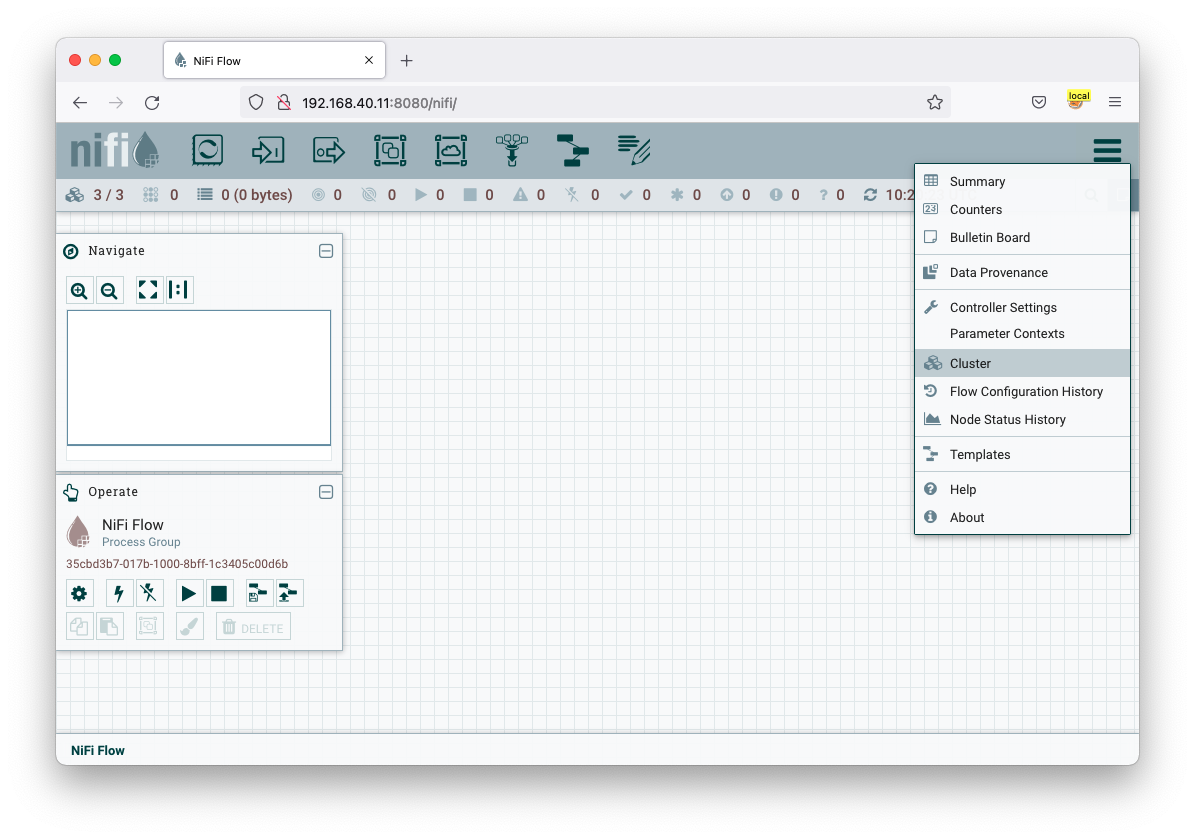
Once you have these credentials you can log in and you should see a blank NiFi canvas.
